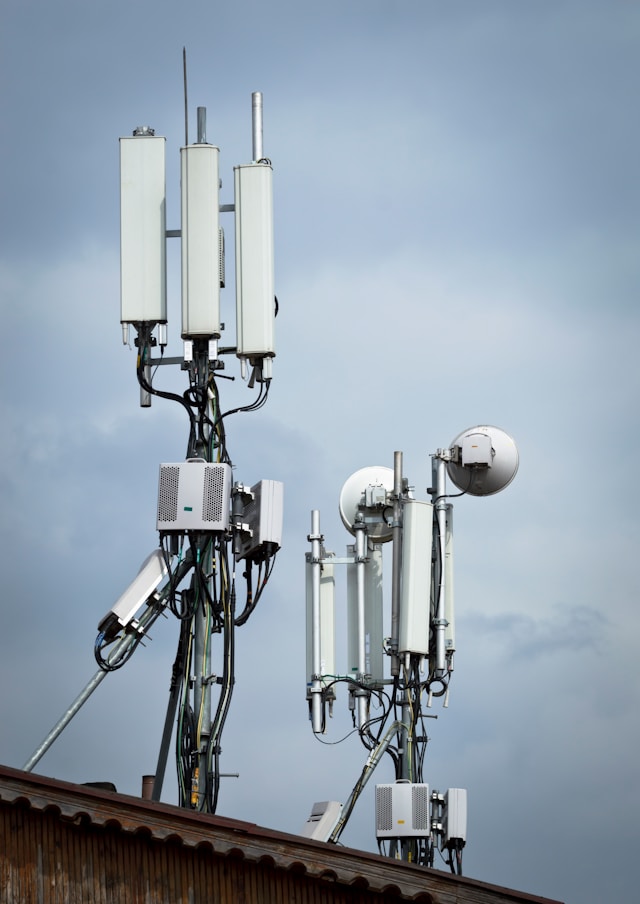
Understanding the Importance of VLANs in Modern Networks
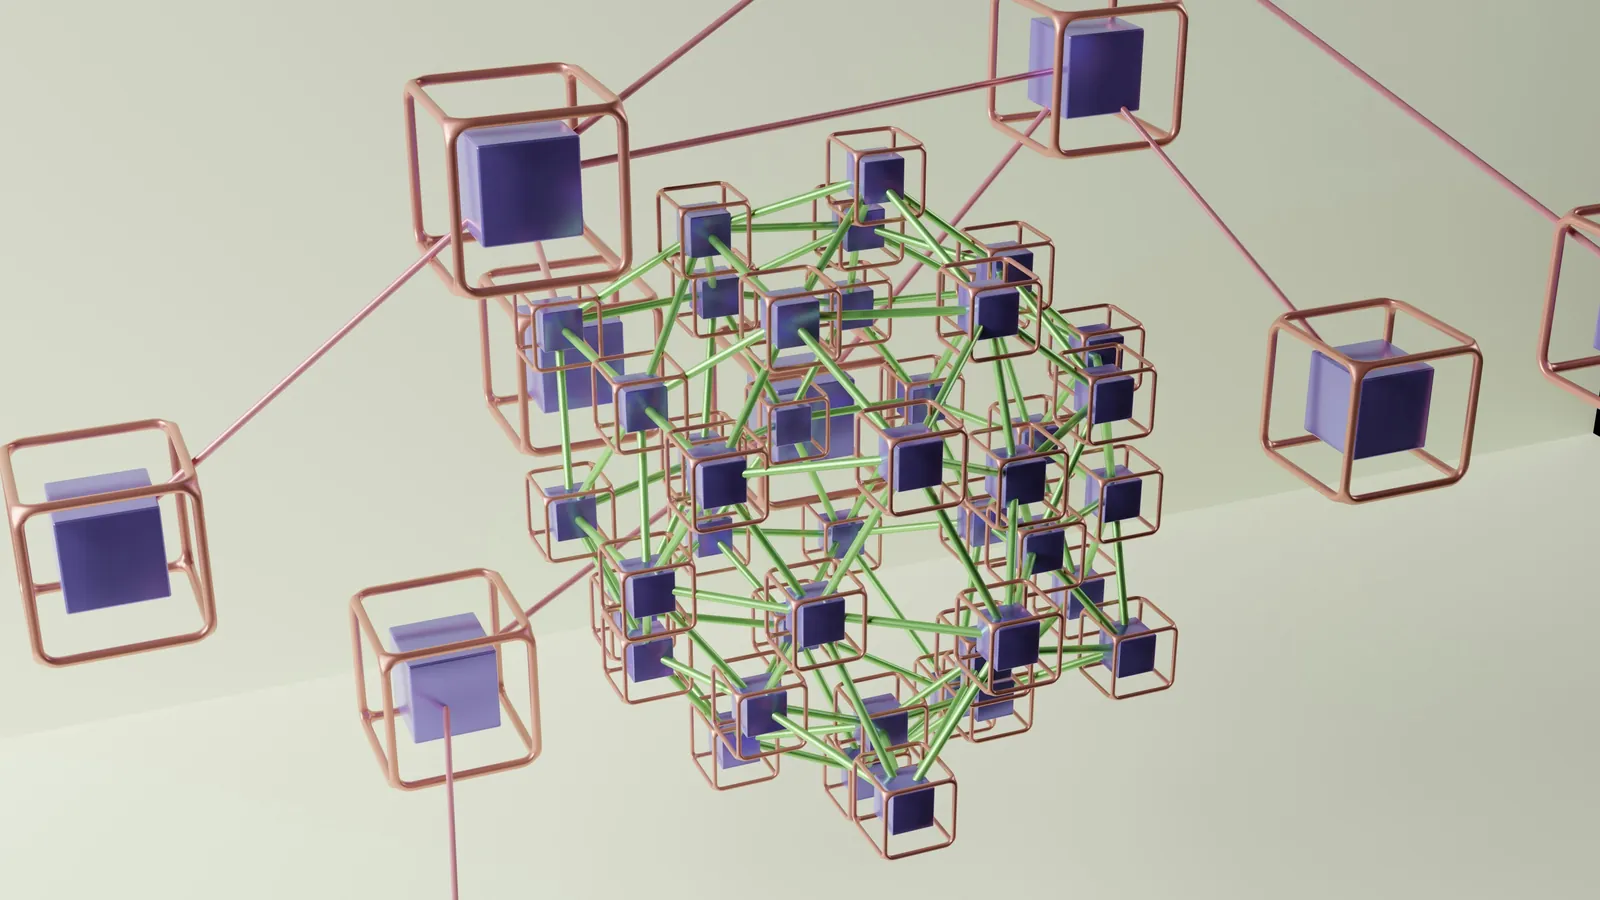
Virtual Local Area Networks (VLANs) have become an essential component of modern organizational networks. They are crucial for enhancing network performance, security, and efficiency by segmenting a network into different logical groups. This segmentation enables better control over traffic flow, reduces congestion, and provides a layer of security by isolating sensitive data from general access.
In organizations with complex networking requirements, implementing VLANs can significantly improve resource management and simplify network administration. By understanding and effectively deploying VLANs, businesses can ensure their network infrastructure is robust, scalable, and secure.
Prerequisites for VLAN Deployment
Before diving into the deployment process, certain prerequisites must be in place to ensure a smooth transition:
- Network Design and Planning: Assess your current network structure. Determine the number of VLANs needed based on departments, functions, or security requirements.
- Hardware Compatibility: Ensure all switches and routers support VLAN configurations. Most modern devices do, but it's vital to verify compatibility.
- Updated Firmware: Update the firmware on all networking devices to support the latest VLAN features and security enhancements.
- Administrator Access: Ensure you have administrative access to configure network devices.
Step 1: Define VLAN Objectives
The first step in deploying VLANs is to define the objectives clearly. Ask questions like:
- What are the main reasons for implementing VLANs? Is it to enhance security, improve performance, or both?
- How many VLANs are necessary? What is the ideal size for each?
- Which departments or user groups will each VLAN serve?
Having a clear understanding of these goals will guide the entire implementation process and help align it with business needs.
Step 2: Design the VLAN Architecture
Once objectives are set, design the VLAN architecture:
- Create a Logical Network Map: Diagram the current network layout and overlay potential VLAN segments. Identify which devices and endpoints will reside in each VLAN.
- Identify Trunk Links: Determine where trunk links will be used to carry multiple VLANs between switches. Trunks are essential for communication across different network segments.
This planning phase should also consider scalability, allowing for future expansion without significant reconfiguration.
Step 3: Configure Switches
With a solid plan, proceed to configure the switches:
- Access the Switch Configuration Interface: Use SSH or a web-based GUI to access the switch's configuration settings.
- Create VLANs: Assign each VLAN a unique identifier (VLAN ID). For example, Marketing may use VLAN ID 10, while IT uses VLAN ID 20.
- Assign Ports: Designate specific switch ports to particular VLANs based on where devices physically connect. This action ensures traffic from connected devices is appropriately segmented.
switch(config)# vlan 10
switch(config-vlan)# name Marketing
switch(config-vlan)# exit
switch(config)# interface range gigabitethernet1/0/1 - 24
switch(config-if-range)# switchport mode access
switch(config-if-range)# switchport access vlan 10
Step 4: Establish Trunk Links
For traffic to move between different switches on the same VLAN, establish trunk links:
- Configure ports connecting switches as trunk ports. This configuration allows them to handle multiple VLANs.
switch(config)# interface gigabitethernet1/0/48
switch(config-if)# switchport mode trunk
switch(config-if)# switchport trunk allowed vlan all
Trunk links are pivotal in ensuring data flows correctly across your organization's entire network without creating bottlenecks or security loopholes.
Step 5: Implement Inter-VLAN Routing
Inter-VLAN routing enables communication between different VLANs, which might be necessary for certain functions within an organization:
- If your network topology includes Layer 3 switches or routers, configure them to handle inter-VLAN routing. This setup requires assigning an IP address to each VLAN interface on the router or Layer 3 switch.
router(config)# interface vlan 10
router(config-if)# ip address 192.168.10.1 255.255.255.0
router(config-if)# no shutdown
This step is critical for maintaining efficient communication across various departments while preserving the benefits of segmentation.
Step 6: Test and Validate Configuration
The testing phase is crucial for identifying misconfigurations or potential issues:
- Conduct Connectivity Tests: Use ping tests between devices on the same and different VLANs to ensure proper isolation and inter-VLAN routing functionality.
- Monitor Network Performance: Use network monitoring tools to observe traffic patterns and ensure there are no bottlenecks or unexpected delays.
This validation ensures that all devices communicate as intended without compromising security or performance.
Step 7: Document the Configuration
A well-documented configuration serves as a reference point for troubleshooting and future upgrades:
- Create detailed documentation of VLAN configurations, including network diagrams, switch port assignments, and inter-VLAN routing setups.
This documentation will be invaluable for onboarding new IT staff or when addressing issues that arise down the line.
Step 8: Monitor and Maintain VLANs
Post-deployment monitoring is vital for maintaining optimal performance:
- Regularly review and update configurations to accommodate changes in organizational structure or network demands.
- Stay vigilant about security updates and patches that affect VLAN capabilities.
This ongoing maintenance ensures that your network remains efficient, secure, and aligned with organizational objectives.